This Python code generates a color scale in ENVI format (.dsr) adapted to the elevation range of a given digital elevation model. ENVI already provides tools to color a DEM, but the color scales are not gradual from one color to another. This code is a way to generate such a color scale.
In ENVI, .dsr files can be imported in the "Density Slice" tool.
Example: how to produce a 3D view of a shaded, colored DEM with ENVI and Photoshop
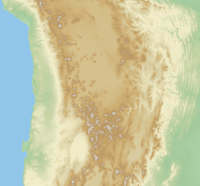
In ENVI: Apply the color scale generated by the python program to the DEM (Tools → Color Mapping → Density Slice → File → Restore Ranges)
→
Save the image in TIFF/GeoTIFF format, with the default options (File → Save Image As → Image File)
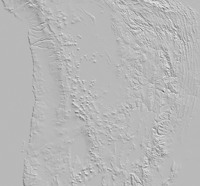
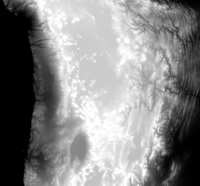
In parallel, display the DEM in a new Display and create a hill shade image (Topographic → Create Hill Shade Image ; choose the Display and select the DEM; set the Sun angle values)
Save the shaded DEM in TIFF/GeoTIFF format (see 2.)
→
In Photoshop: Open both .tif files
Set the luminosity, levels, etc.
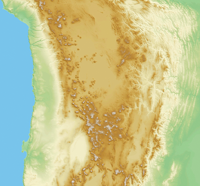
Copy the colored DEM and paste it on the shaded DEM
Set the opacity of the colored DEM to make the shaded DEM appear
+
→
Save the image
In ENVI: Open the .tif file that you just modified in Photoshop (make sure that the .tfw file has the same name as the .tif file; choose the same projection as the original one)
Set the contrast stretch (to retrieve the Photoshop settings: Enhance → [Scroll] Linear 0-255)
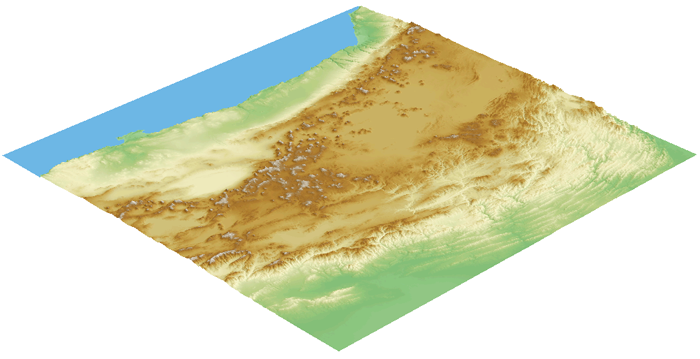
Visualize the shaded, colored DEM in 3D (Topographic → 3D SurfaceView)
 →
→